
UV Channel 1
Lightmaps.
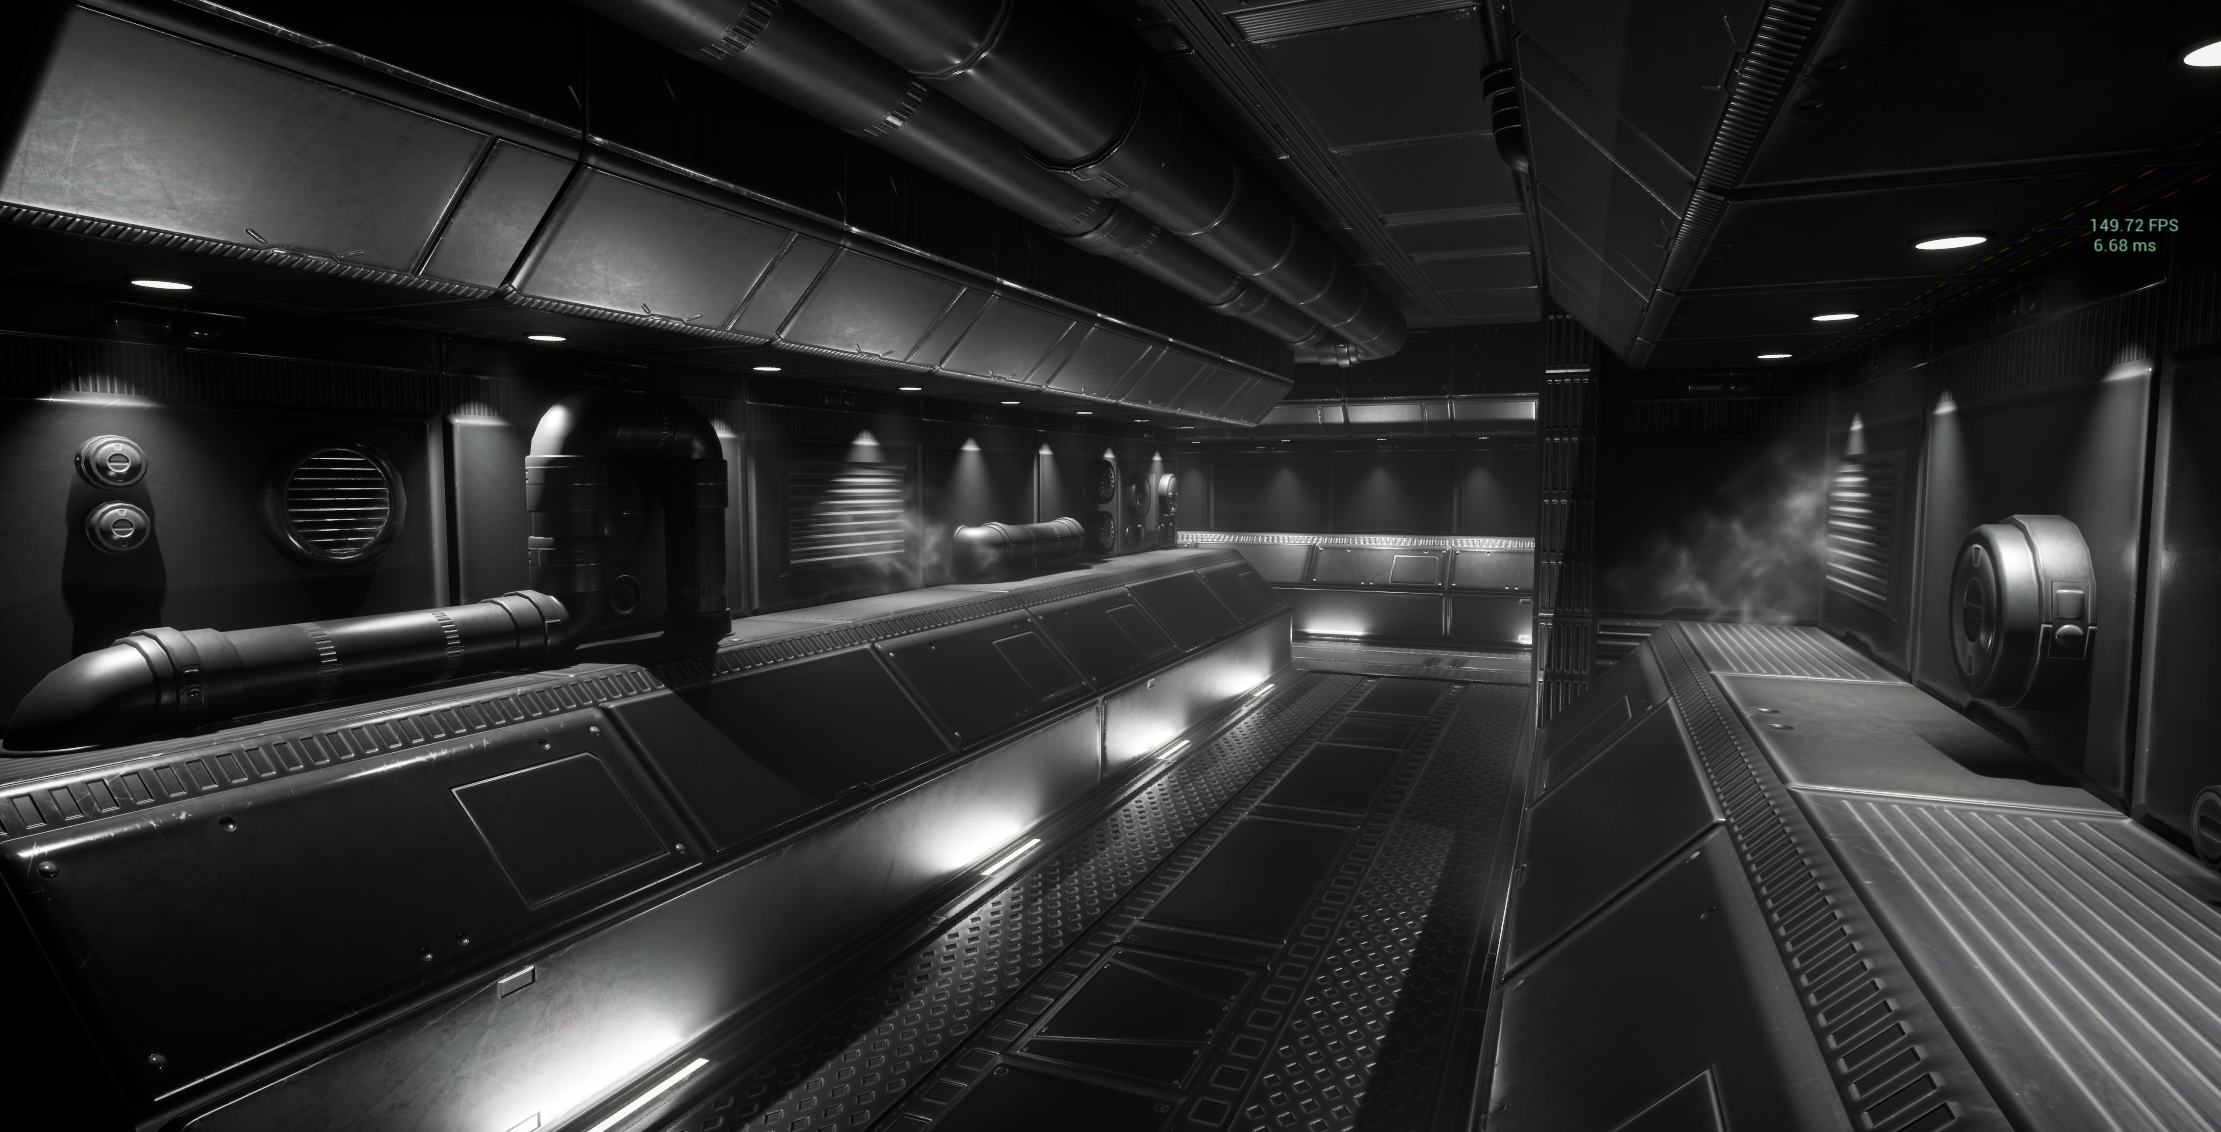
Lumen off. Back to basics, old school baked lighting - how hard could that be?
Well, if I knew what I was doing at the time, not hard. But I didn’t, did I? I press Bake Lighting and I’m greeted with these blackened surfaces and bizzare lighting.
When the rage subsided, I went back to the documentation. Lightmaps. Special texures that store lighting information for each mesh, saved into a seperate UV set - UV 1. I re-imported my assets using the built in lightmap generation tools that served me so well at university, only to find something awry.
Two somethings as it turned out.
The first issue was simply the lightmap resolution, which had defaulted to 4 and was simply too small to capture any meaningful information. So I spend time editing the lightmap resolutions for every mesh. Parts now looked better, but others seemed to have no changes.
Frustrated, I ran some images past Claude.AI, I’ve not really used LLM’s for anything other than a mess around before and was surprised at how useful it actually was. It managed to find information about how Unreal’s lightmap auto-packing works, and a note that it doesn’t work well with trim sheet textures assets. Like… all of mine.
But Blender features a lightmap unpack as a built in UV unwrap mode! Hooray! At least I don’t have to spend ages re-authoring every single mesh to have its own lightmap by hand.
(Spoiler alert - I was wrong again).
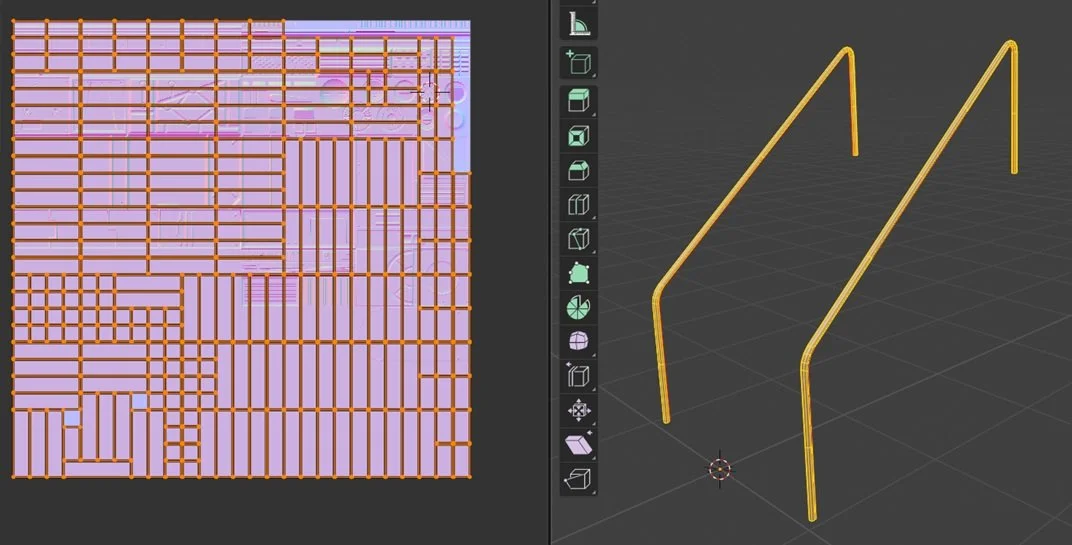
Hand Rails for a staircase, and the automatic lightmap unwrap result.
The problem with these is - they’re really bad. At least, for my purposes they were completely unfit for purpose. While they seemed to work and shadows appear more or less in the right places, the Blender unwrap sort of ‘brute force’ rips the mesh to pieces and unwraps that. The end result has so many seams that shadow artefacts will appear all over your mesh, ruining the effect.
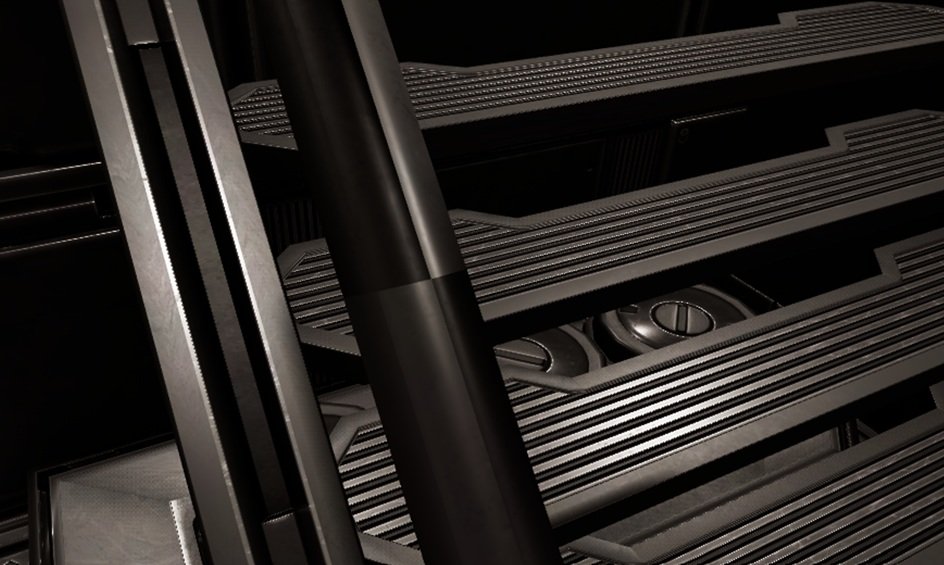

So yeah. I did have to author the lightmaps by hand after all. It seems to be a truth in life that trying to do something the quick way just makes more work in the end…
I’ve probably done this very poorly, and am brute forcing better results by using higher resolution lightmaps than I need, but now at least the shadows and lights fall where I actaully want them!
The next learning curve came with lighting… Lumen doesn’t exactly make you lazy, but it does offer you a lot of freedom and copes with complex lighting more or less automatically. I’ve gotten used to using lights with larger source radii in order to get nice soft scenes, but with baked lighting and metallic surfaces? That just blows them out, washing the whole scene out with extreme specular highlighting. Source radius is out. Point lights and rect lights set to not cast shadows, brighter skylight settings (oh that was a whole thing… skylights are amazing and frustrating.).
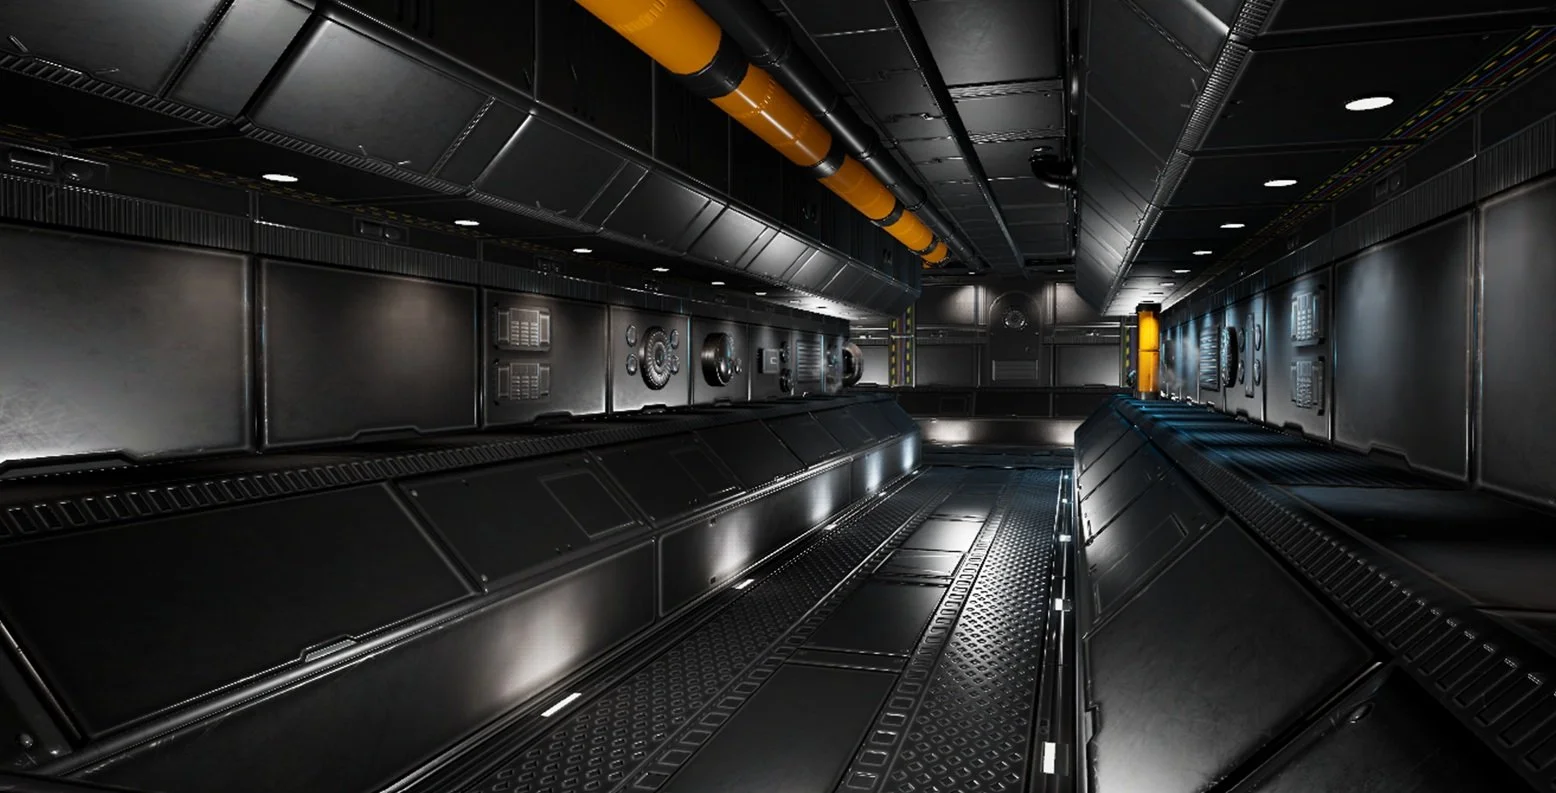
Honestly, it’s still not there. But I’m much closer to that Lumen look that my materials had, and I’m happy enough to move on.
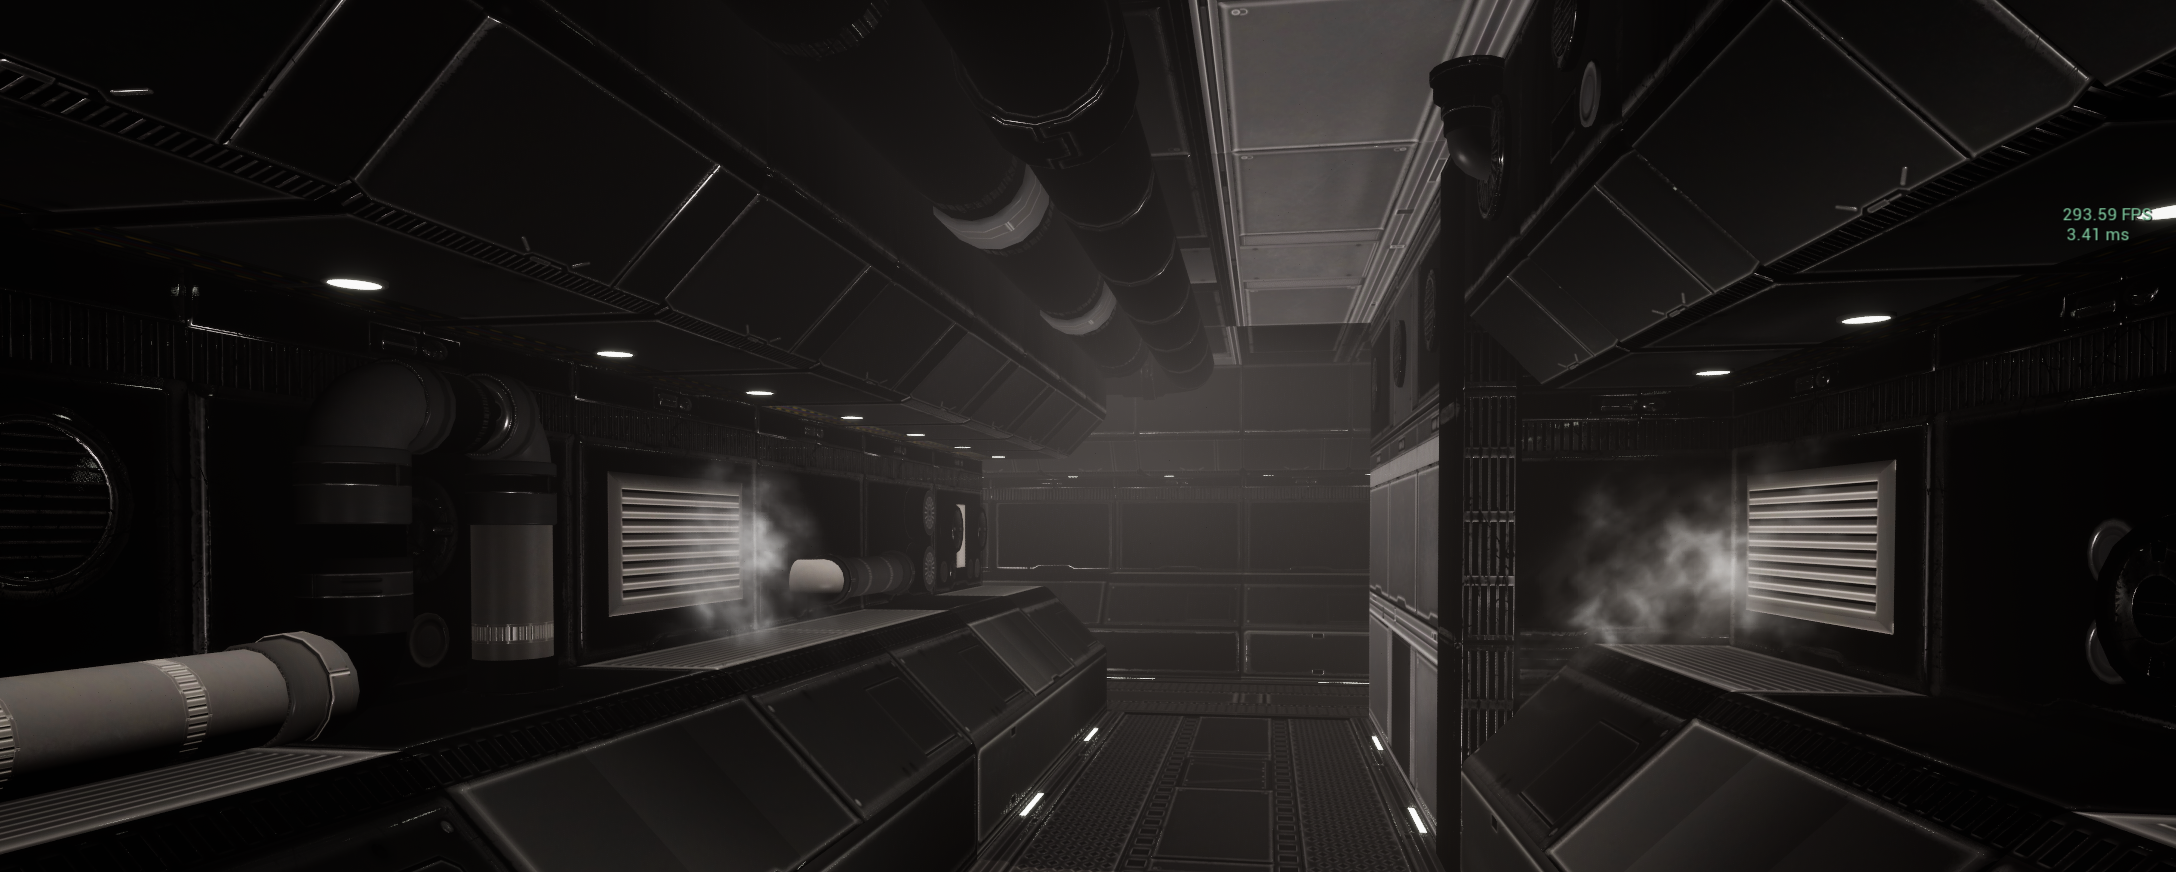
These metallic textures were always intended to be placeholders, and here’s where my next fixation ramped up. Since the baked scene is ridiculously efficient, getting over 200 fps in editor - how performant can I make it? I’d not really taken the dive into the profiler properly, so… just how high can I push that framerate?
Just how far can I go with one texture set?